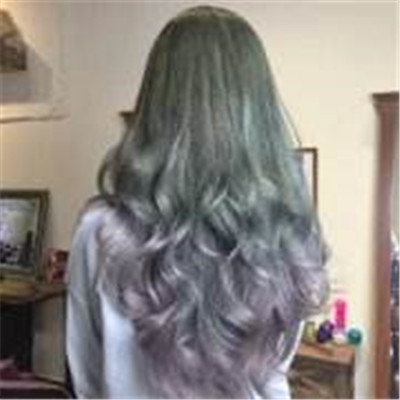
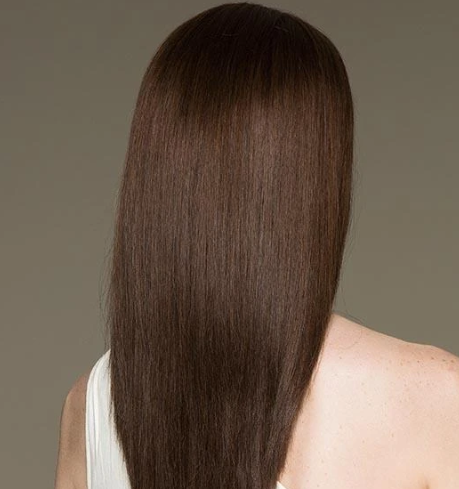
A lace front wig offers a more natural looking hairline than most types of wigs. Lace front wigs can be part of full wig caps, or they can be stand alone pieces. In either case, the construction of the lace front is the same. Strands of hair are attached to the lace using a special tool called a ventilating needle. Making a lace front wig requires patience and skill.

Preparing the Lace Front
Measure the head.
Hold the tape measure on the natural hairline and run it back to where you want your lace front piece to stop. The length of your lace front piece is up to you.
- Next, measure from side to side. Hold the tape measure just in front of one ear, where the hairline ends. Wrap the tape measure over the head, to the same spot in front of the opposite ear.
- To get the most accurate measurement of the head, you’ll need to flatten the hair. You can wet the hair to flatten it, or put your hair in a flat style, such as corn rows.
Make a pattern.
Take a piece of plastic wrap large enough to fit over the head. Wrap it tightly over the top part of the head. Keep it as tight as possible, and fasten it at the back. Apply clear adhesive tape to the plastic wrap to begin forming the pattern.
- Start by taping from side to side. Secure a piece of tape over one ear, and run the tape over the top of the head to the other ear. Make sure the plastic wrap is secure, but not too tight.
- Tape from front to back. Cover the entire head with tape until the pattern feels rigid.
- Trace the hairline using a soft pencil. Start in the front and go just over the ears. Tape over the pencil to keep it from erasing or smudging.
Secure your pattern on a wig block.
Carefully remove the pattern from the head and prepare to pin it to your wig block.
- Take some stuffing and place it in the pattern. Place the pattern on a wig block and secure it using balled straight pins. Once the pattern is secure on the block, go back through and add straight pins along the hairline.
Cut the lace.
Use the pattern to measure a piece of lace. You’ll need some extra lace to work with, so don’t cut the piece to the exact size of the pattern.
- You may need to dye the lace to get it to match your skin tone. If you need to dyethe lace, do it now, before you secure it to your pattern.
- You can find wig lace online or you can by similar fabrics at a craft store.
Secure the lace on a wig block.
Drape the lace over the pattern on the wig block. Secure the lace along the hairline using balled straight pins. Once you have the lace secured to the wig block, trace the entire hairline using small straight pins.
- Take care not to let the lace get ruffled as you work. Keep it smooth and tight.
- Once the front hairline is completely pinned, smooth the lace down to the back of the pattern. Secure the back with a straight pin and continue the pinning process in the back. Continue to keep the lace tight as you work.
- You may end up having to fold some of the lace in the back to keep it flat on the pattern. Pin the tip of the fold to secure it, and then sew the open end of the fold shut.
Test the fit of the cap.

Remove all the pins from the lace and take the cap off the pattern. Test the fit of the cap and make any necessary adjustments.
Ventilating the Lace Front
Gather your supplies.
To sew the hair into the lace, a process known as ventilating, you will need a ventilating needle. Ventilating needles have hooks on the tip to loop the hair into the lace. Hooks come in a variety of sizes. The size number represents the number of strands you can thread at a time.
- Find a source for the hair you’ll be using. You can buy synthetic or human hair online. The size of your lace front will determine the amount of hair you need.
Load the needle.
Secure the lace cap to the wig block. Hold some hair in one hand, and your ventilating needle in the other. Make a loop with the hair so that you can easily hook your needle through the strands.

- Hook the needle through the lace and use the hook to grab a few strands of hair. Don’t overload the needle with hair. Refer to the number on the hook to see how much hair it can hold.
- Hold the hair tight while you’re threading.
- Start the process at the hairline and work your way back. Use tight clusters of hair on the hairline. As you move towards the back of the piece, you can add more space between your knots.
Make a knot.
Pull the hair through the lace. As you pull, hook the needle around the hair to create a loop. Thread the hair through the loop and pull tight to make a knot.
- Repeat this process for the entire lace front piece. Ventilating is a time consuming task. One square inch may take several hours.
Check the hairline.
Once you’ve added hair to the entire cap, take a look at the hairline. Make any final adjustments to the hairline as necessary. Use this opportunity to get the lace front exactly how you want it.
- Remove the cap from the wig block and do a test fitting. Make sure the lace front piece fits correctly. Check the sides and the hairline.
Trim away any excess lace.
Once you have finished the ventilation process, trim away any extra lace. Leave a small border in front of the hairline to make applying the wig easier.
Attaching the Wig
Wash your face.

Use a non-oily soap to wash your face and neck. Pay special attention to the hairline. Apply a scalp protector to the skin just below your hairline.
- The scalp protector protects your skin from the adhesive used to apply the wig, and keeps skin oils from weakening the bond of the adhesive. Let the scalp protector dry completely before attaching the wig.
Pull your hair back.
Before applying your wig, pull your hair back into a bun or a ponytail. You may need to wear a wig cap depending on the length of your hair.
Apply the adhesive
You can use a liquid adhesive or a special double-sided wig tape. If you are using the liquid adhesive, spread a thin layer around the perimeter of your head, just below the hairline. The glue needs to be tacky before you can apply the wig. Depending on the brand of adhesive, this could take several minutes. Use a blow dryer set to cool to speed the process.
- Once the glue is tacky, place the wig on your head, and press the hairline of the front piece onto the glue line. Hold the wig onto the glued area. Apply constant pressure until the wig is secure and can stay on by itself. Let the glue dry completely before you style the wig.
- To use wig tape, cut a piece of tape to fit the perimeter of your head, just below your hairline. Apply the tape to your forehead. Line the wig up so that the hairline is just on the edge of the tape. Peel the back of the tape off, revealing the other sticky side. Press the lace onto the adhesive, starting with the front hairline. Hold each section for about 30 seconds to make sure the wig is securely attached.